Prepare the walls for painting
Post from EditorialsBefore applying any type of coating to the surfaces of the walls it is essential to have an adequate preparation of the same.
 Whitewash or papering the walls are some of those chores, no doubt tiring but, with a certain amount of good will, that you can also do by yourself.
But before applying any type of wall covering is essential that the walls are properly prepared, clean, smooth and well dried.
The preparation, from which depends very much of the final result, is constituted by a series of preliminary operations.
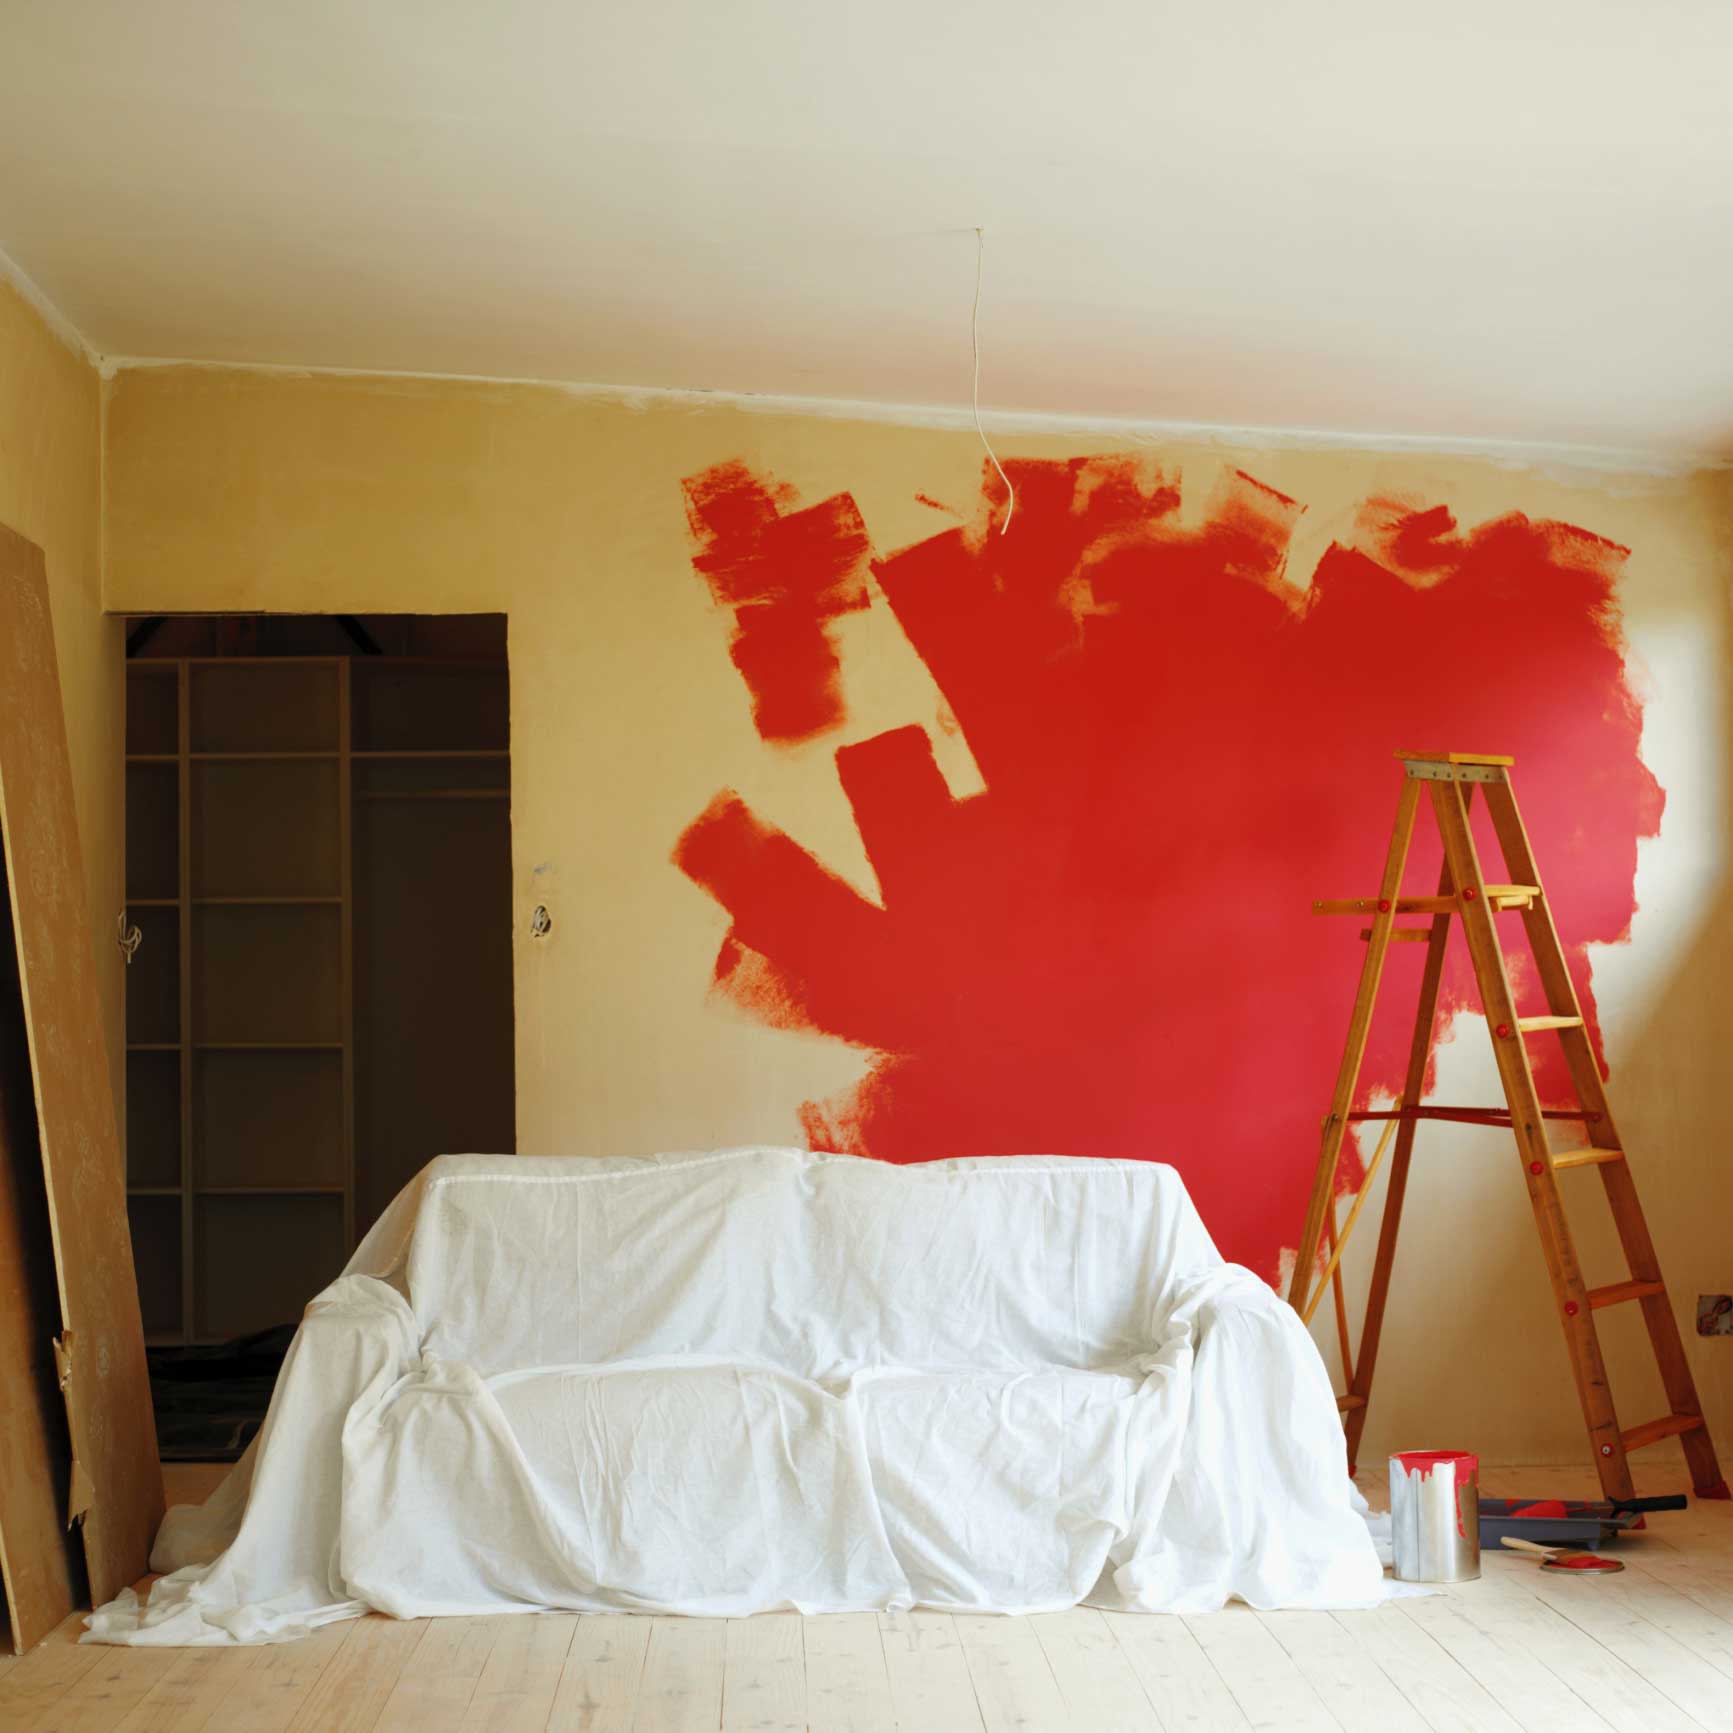
This type of work produces a lot of dirt, so you need to move all the furnitures in another room, or at least group them together in the center and cover them with plastic sheeting, remove the curtains and protect the floors with plastic sheeting or old newspapers.
Preparation of the walls
In the case of new walls, with plaster recently applied, generally you do not need any particular treatments. However it may happen that, during the drying stage, may form salt crystals that assume the appearance of a white powder.
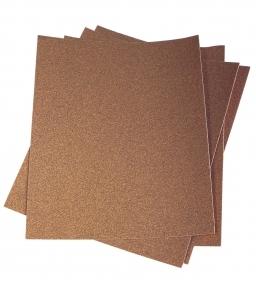
In this case it is necessary to brush the surface thoroughly until it is perfectly clean. If there are, however, the coarse parties must be sanded with thin sandpaper. For this kind of surface emulsion paints are ideal, which leave the wall to transpire. If you prefer to use waterproof products, enamel or upholstery, you will need to wait at least 3 months from the plastering.
But in most cases you have to treat existing walls already painted. In this case it is sufficient to clean the surface thoroughly before painting it, but only after having eliminated the eventual mold present and filled the cracks.
If the existing painting is rough, you will need to remove it completely with a special steam tool or with a chemical stripper.
If the existing wall is papered, it is better not to cover it with other wallpaper, because the wet glue would tend to pull out the existing one.
Only if the wallpaper is perfectly smooth and uniform, or if the underlying plaster is in a very poor condition, it is better not to remove it but, before glueing the new one it is better to apply a under wallpaper paper as a base.
Equipment needed for the preparation
Before you begin make sure you have everything you need, including:
- To wash the walls, a sponge or cloth, preferably a brush for rough surfaces;
- Detergent or soap to remove dirt and grease;
- Sandpaper to be used wet on painted surfaces and dry on those rough;  - Paint stripper to remove paint rough surfaces;
- A special liquid to detach the wallpaper;
- One-off wallpaper steam, which can also be rented. Its operation is very simple: it is a kind of plate to be put adherent to the wall and in this way the steam accelerates the process of softening the glue;
- A wide spatula to scrape paint and paper;
- A wire brush hard to dent the wallpaper and detach it easily;
- Putty to fill cracks and crevices;
- A narrow-bladed spatula for filling;
- A clean brush to dust cracks and empty slints;
- A specially prepared mold or a simple bleach to remove mildew stains.
Remove the mold
In several rooms of the house, like the kitchen and bathrooms, it is easy to form condensation and, if the rooms are not well insulated and ventilated, this can help to generate mold.
Mold is very dangerous to your health, as well as unsightly, so it should be totally removed before painting. For this purpose you can use bleach or specific products, carefully following the instructions for their use.
If you use bleach, prepare a solution with 5 parts water to 1 part bleach.
Roll it out with a brush over the surfaces and the adjacent ones and leave it for half a day.
Then remove the mold by scraping it and maybe subsequently burning what resulted from scraping. Rinse well and apply the solution again, which must be freshly prepared.
Proceed to the painting after have passed at least 3 days.
If it is the wallpaper to be affected by mold, it should be totally removed and it is better to use an anti mold glue to apply the new one.
Work is finished, remember to wash in bleach both the tools and the clothes you have used.
Removal of paintwork
To wash the painted walls use a sponge or soft cloth soaked with a solution of warm water and soap or detergent powder.
Proceed starting from the ceiling and then to the walls, from the bottom upwards. Then rinse again with warm water and let it dry. If the wall is painted with enamel, it should also be sanded with fine grit paper if it has to be repainted, coarse if it is to be plastered.
The paintings in relief can also be removed using the tool steam that is used to remove the wallpaper. In fact, in this way, the painting softens and can be detached as if it was wallpaper.
But there are also special strippers for these paintings. They must be applied with a flat brush and allowed to dry, after which the paint can be removed with a soft spatula. Subsequently, the wall should be rinsed with cold water.
To remove tempera paint, wash the walls with warm water, using a stiff bristle brush and changing the water every time it becomes cloudy. Then rinse it, again with hot water.
Then sand it with fine grit sandpaper and lay a coat of fixative if you are going to whitewash, or a thin layer of glue if you are going to put wallpaper.
Removing wallpaper
 The removal of wallpaper can only happen by wetting it completely so that the glue melts. This work produces a lot of dirt, so equip yourself with trash bin or garbage bags, in order to throw the torn out paper.
To remove a normal wallpaper use a sponge or an old paintbrush to wet the wall with warm water and liquid-wallpaper off up to soften the glue underneath. Slide the spatula inside the a joint of the wallpaper to cut it off, taking care not to scratch the wall.
Do not insist on the most persistent: it will be good as long as you wet them again will be easier to remove the strips.
In the case of washable wallpaper, however, since they are water-repellent, you must notch it in some points, in order to allow the liquid to penetrate into the underlying parts. For this purpose you can use a wire brush, but being careful not to scratch the wall.
The bottom layer, however, can be used as a basis for re-coating or, if it is in excellent condition, it may even be painted. The most professional solution, however, is to remove everything.
To remove the paper still attached use a coarse-grained sandpaper. To remove the glue residue, wash the wall with water and detergent, sand it with fine grit sandpaper and then dust.
Filling of cracks and holes
 Cracks and holes should be well filled before painting. First, scrape the damaged areas, so as to remove all the parts that tend to break away.
Then dust the crack with a brush, sand it and wet it, so that it is not too dry, perhaps using a vaporizer.
At this point apply the stucco with a spatula, first with transverse movements to crack and then in reverse. If it is deep, the application must be repeated several times, in layers not exceeding 3 mm, making sure each time that the previous state is thoroughly dried.
In the last step is better to abound with the layer, in fact, once dry, if it will be too much, it can be sanded to obtain a perfectly smooth surface.
The newly filled areas tend to absorb more paint than the other and to take on a gray color.
To avoid this inconvenience it may pass before a layer of insulation or a pair of hands of the same painting that will be used for the entire wall.
www.acemchimica.com
www.wagnercolora.com
www.sivac.it
80835 REGISTERED USERS


