Decorative bands DIY
Post from EditorialsPipings and rosettes for walls decoration are elements that can break the monotony of a wall in order to carry out differentiated paintwork.
The piping molded to be applied to walls or ceilings are commercially in a wide variety of shapes, sizes and materials.
To the classical pipings with different sections and shapes, you also find complete elements such as small niches, rosettes, corner covers and other friezes.
They are made in special synthetic resins, or with mixtures of gypsum, but also with hardwoods.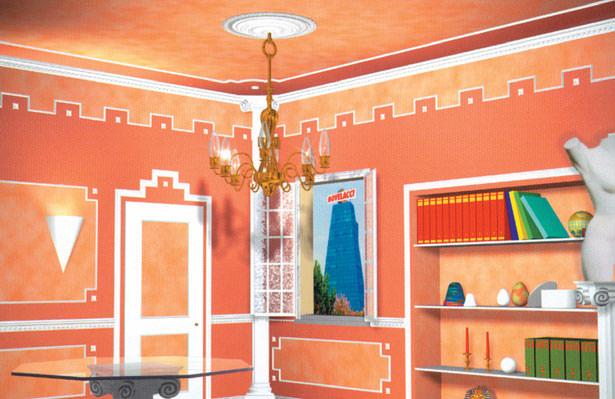
Their applications for decorative purposes are virtually unlimited.
In a very high room, a continuous frame that follows the perimeter of the room, applied along the walls at a certain distance from the ceiling, optically lowers the room.
To accentuate the reduction in the height you can decorate it with colors contrasting the areas above and below the applied element.
A long, narrow room with a window at one end may be corrected with a frame that repeats the shape and size of the window on the opposite wall.
Bands in plaster or resin
The decorative trims can in plaster, with synthetic resins, polyurethane or other composite materials.
The types of plaster, are also defined stucco: they are fragile and be easily damaged, even with a small bump, so it is preferable to get those in rigid polyurethane or special mixtures of hard and elastic resins.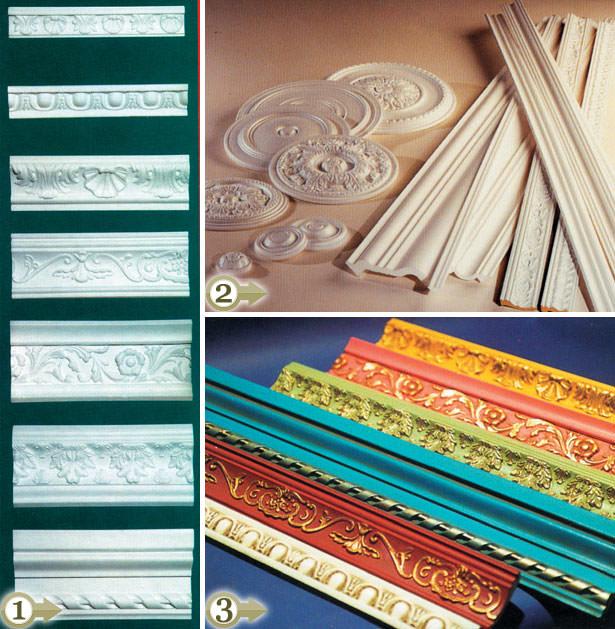
1 - The trims are manufactured with different decorations: floral, geometric, etc..
2 - The rosettes are available in various sizes and decorations.
3 - There are also colored pipings that allow to create very elaborate friezes.
Also on furnitures and fixtures
Even the boxes of the blinds can be decorated with pipings arranged appropriately.
Similarly, you can treat the cabinets look a bit colourless: kitchen cupboards, bathroom cabinets etc..
Finally, you can enhance the points of light on the ceiling with rosettes of various diameters, which can also be colored later.
Measures and positioning
Placing the pipings on the walls requires precision.
Mark the location on the surface to be decorated using spirit level, line and set square.
After measuring you need to properly shape the pipings where you have to make the connections at an angle.
For this shaping is necessary to use the angled cuts box that provides us with the required accuracy.
Application to wall
For decorations in plaster you use plaster paste or a special acrylic adhesive (always in paste), while for pipings or rosettes in polyurethane and resin you need to use the adhesive recommended by the manufacturer (usually a contact adhesive).
After having thoroughly cleaned the wall, apply the adhesive to points on the back of the piping to fix, without exceeding.
Then you place the piping against the wall and you press it to facilitate adhesion.
It may be necessary driving some thin and long tacks (which will later be removed) to keep the piping in position during the hardening of the glue.
With a sponge or a rag eliminate any glue in excess.
When everything is dry you can (if you want) color the piping with acrylic colors, like gold, silver, etc..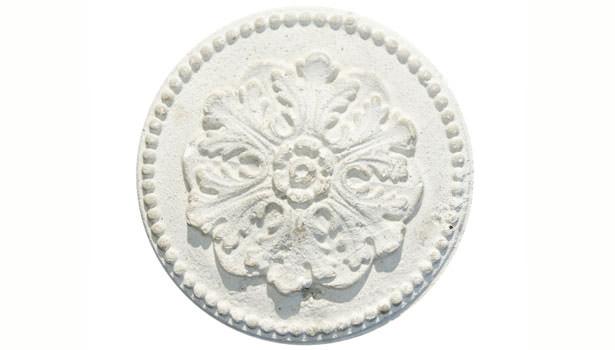
Even to position larger elements as rosettes, niches, shelves and different friezes you can follow the same system.
The only additional difficulty consists in the fact that these elements are heavier and, in general, they must be supported in position for the time necessary to the hardening of the glue.
For these reasons you should use masking tapes, in paper, placed on either side of the frieze or drive in thin tacks (which then will later be removed).
Treat the edge of rosettes and different friezes carefully since, given their size, they can be spaced from the wall if this is not perfectly flat.
The finishing is done with the same adhesive used for the application or with a silicone of the same color of the wall.
Application of decorative pipings
1 - Determine the height at which you intend to secure the piping and place it on the wall. Check with a spirit level that is horizontal.
2 - To perform precise, clean cuts tuse the angled cuts box. Place the saw in the fissure and cut slowly.
3 - Pour into a container some plaster paste and add a little water. Mix until the mixture is thick and pasty.
4 - On the back of the piping apply (at distant dots of about ten centimeters), the obtained mixture.
5 - After the application immediately clean the glue that has squeezed out of the contact line. 
Applying a decorative rosette
6 - On the back of the rosette apply some special pasty glue dots for pipings.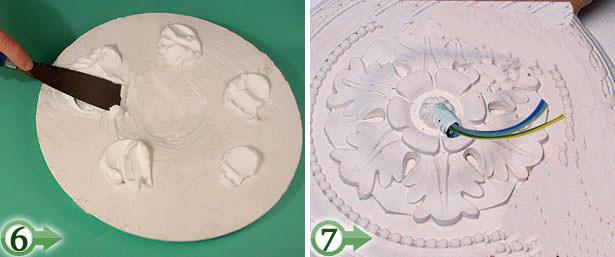
7 - After piercing the rosette in the center (if it is not already pierced) pass the power supply wires through and the suspension hook walled up in the ceiling.
8 - The rose with glue in its rear part, is pressed against the wall (in this case the ceiling), realizing a first hardening.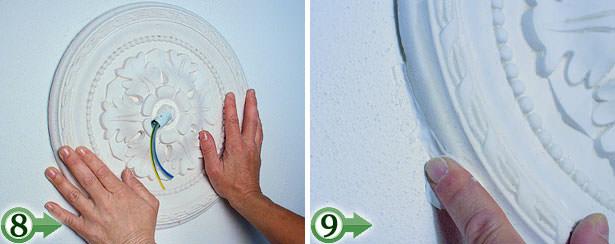
9 - Along the edge of the rosette it is necessary to model a regular and homogeneous contact. You can also use sealant or acrylic silicone applied with the extruding gun.
10 - To keep the rosette in place, apply adhesive quite wide strips of paper (masking tape). The tape must be left in position for a few hours and, when they are detached, you need to remove them slowly not to damage the painting from the wall.
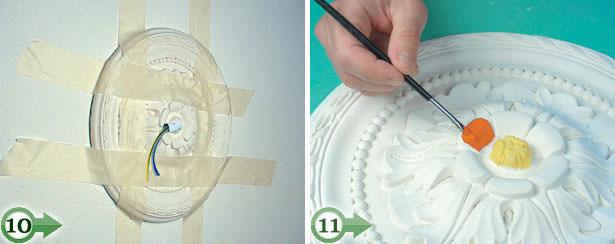
11 - The gypsum rosettes (and friezes in general) accept very well with acrylics painting water.
79741 REGISTERED USERS


