Decorate a lampshade with the stencil technique
Post from EditorialsWe recover an old lampshade decorating it with a simple but effective technique: the stencil, an excellent opportunity to bring out our more creative side!
The stencil technique for decorations DIY
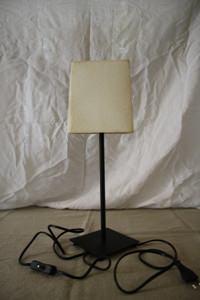 The origins of the stencil art are ancient: it seems that it was already known to the Chinese, who used it to create wallpapers, around 105 AD
In Italy this practice was arranged by artists for the realization of frescoes; its simplicity of execution made it in time one of the most famous decorative techniques, even taught to children.
In each house there is some piece of furniture or other things that we would like to change in the look: here is an excellent opportunity to bring out our creative side!
The protagonist of this change is an anonymous white lampshade that time has yellowed making it even more dull.
Required materials to decorate with stencils
What you need to decorate the lampshade:
- Tape rubberized
- Stencil swabs or sponge
- Colors for fabric or acrylic
- Template for stencil
- Fixative, if necessary 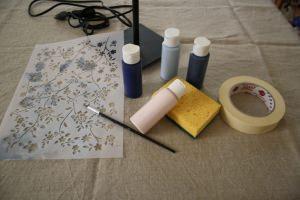 The gummed paper is used to secure the mask on the lampshade: the traditional tape is not indicated because, once the decor is done, it may be difficult to remove, causing in some cases ripping of the mask and the consequent impairment of the work done so far.
In the market there are specific swabs for working with the stencil, consisting of a small wooden support on which is fixed the pad foam; However, for those in a hurry to start or who want to save some money, you can use a sponge like those normally used for washing dishes. The effect is very similar!
The kind of color to be used varies depending on the support on which the decoration will be carried out: in our case the most suitable colors are those for tissue that don't need to be fixed by ironing or with the application of a fixative.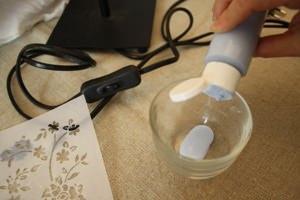 For other types of media the most suitable color is undoubtedly the acrylic: being water-based, non-toxic, it can be combined with other acrylic to obtain the desired color tone and is used with utmost ease.
Templates for the stencil you buy in art stores or stationery stores well stocked; there are many types so make sure to choose one that fits our project.
Preparation for the stencil
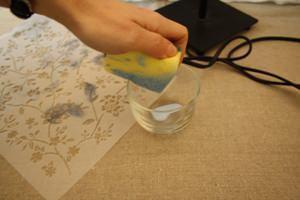 We lay on our work plan a cloth that protects it from stains of color, even better if plastic.
After having dusted and cleaned the shade, we fix the stencil with tape on the rubberized surface that we want to decorate.
Pour into a dish some color and begin to decorate.
Decorating with stencils: the technique
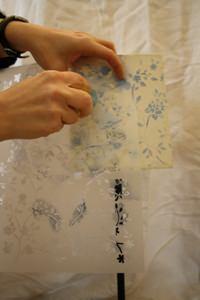 Soak the sponge with little color and do a test on a support that has characteristics similar to the object we're going to decorate.
In this case, because the lampshade is in fabric get a piece of cloth to try our stencils on.
The decoration attempt is crucial to the success of our DIY project as it helps to calibrate the force with which we press the sponge on the stencil.
If the pressure is too much there is the danger of the color to penetrate the mask making a vague outline of the decoration.
Once you have established the extent of the pressure, we can begin: we dip a corner of the sponge in color, taking care to remove any amount of excess color, and dab the stencil with light touches or more intense, depending on the amount of color we want to give.
To achieve a more rustic effect, I recommend to alternate the intensity of the pressure of the sponge on the mask in order to have a more varied result, aged artfully.
To get decorations that overlap you just need to move the mask in areas where there is no decoration and repeat the same operation as described above but using a different color tone, maybe darker.
A professional trick
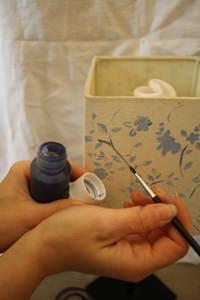 Often the decorations made with stencil are likely to be a bit too uniform because usually you use the same color: for an artistic touch, here's a little secret!
Using a round brush at the tip end, or extra fine for the more experienced, we try to give more depth to the decoration of the drawing very fine lines near the corners of the decor.
We will use darker shades of the base color or the terra di Siena to simulate the shadow; and lighter tones and highlights in ivory to highlight the light points.
Warning: Do not ever dilute the acrylic paint or the fabric one with water: the effect that you would get would be a real scrub!
79846 REGISTERED USERS


